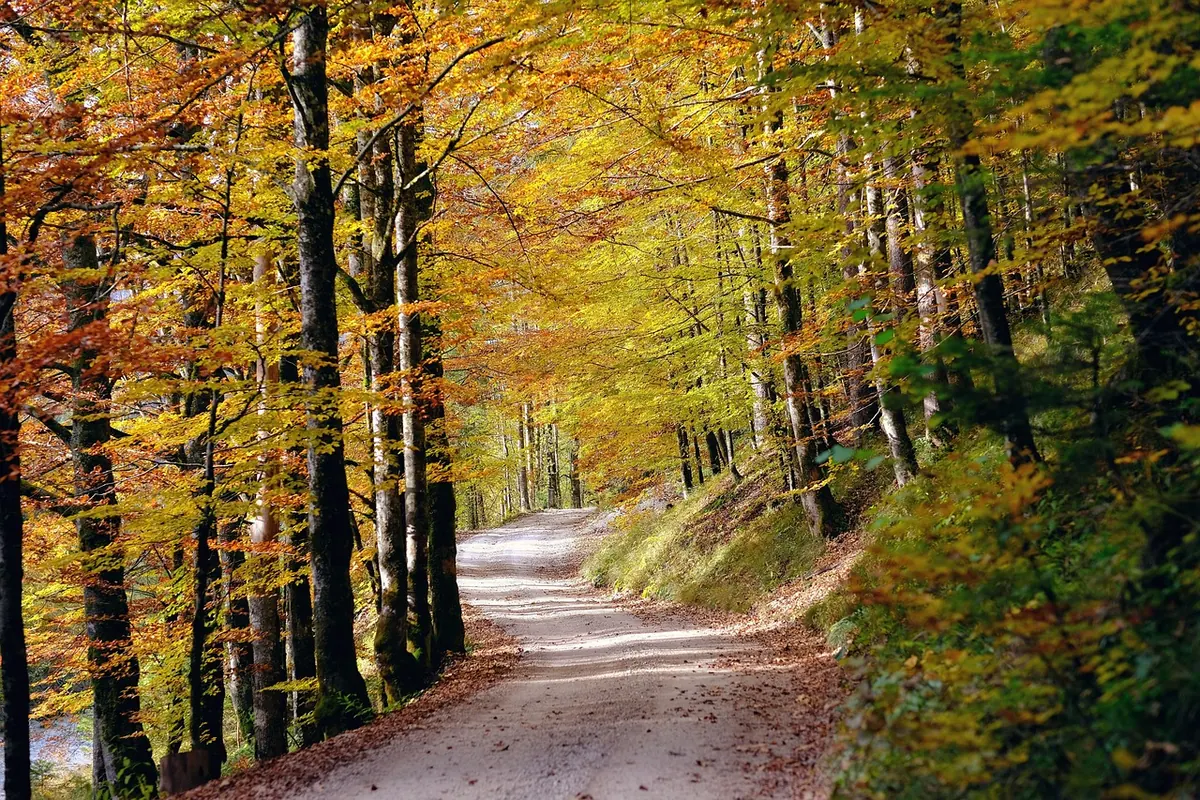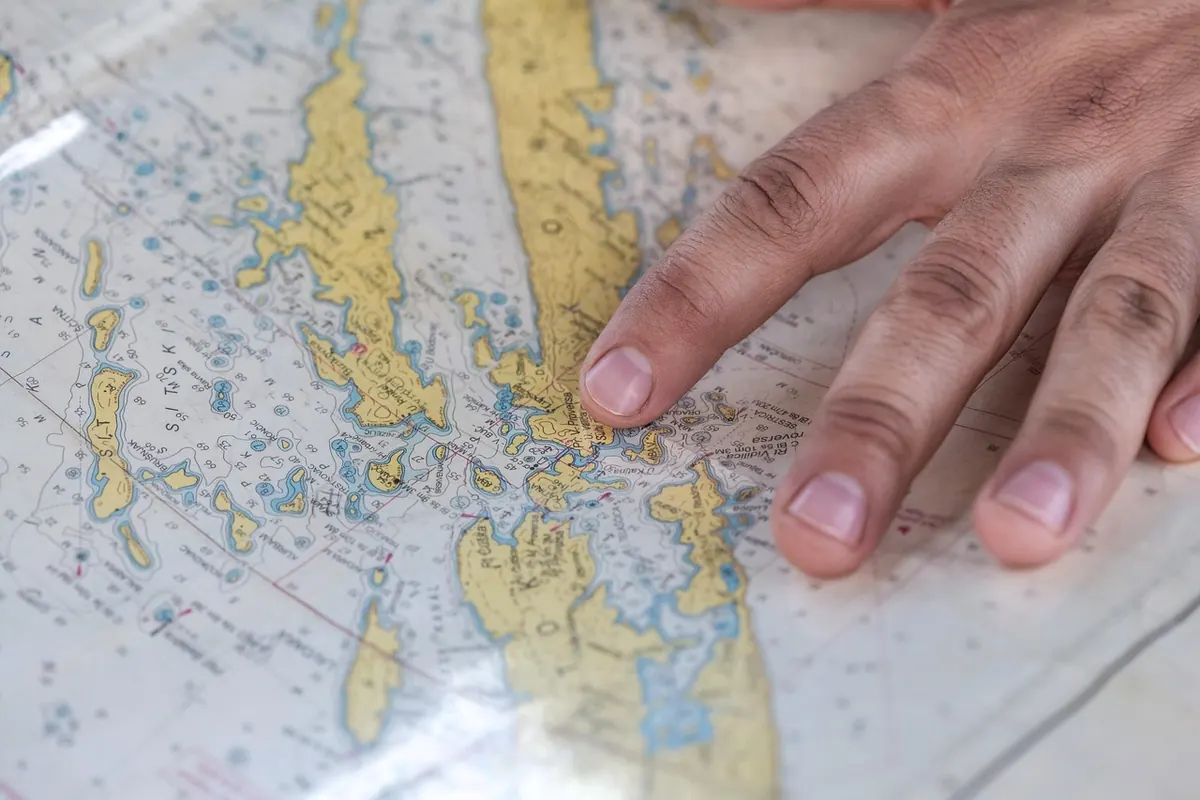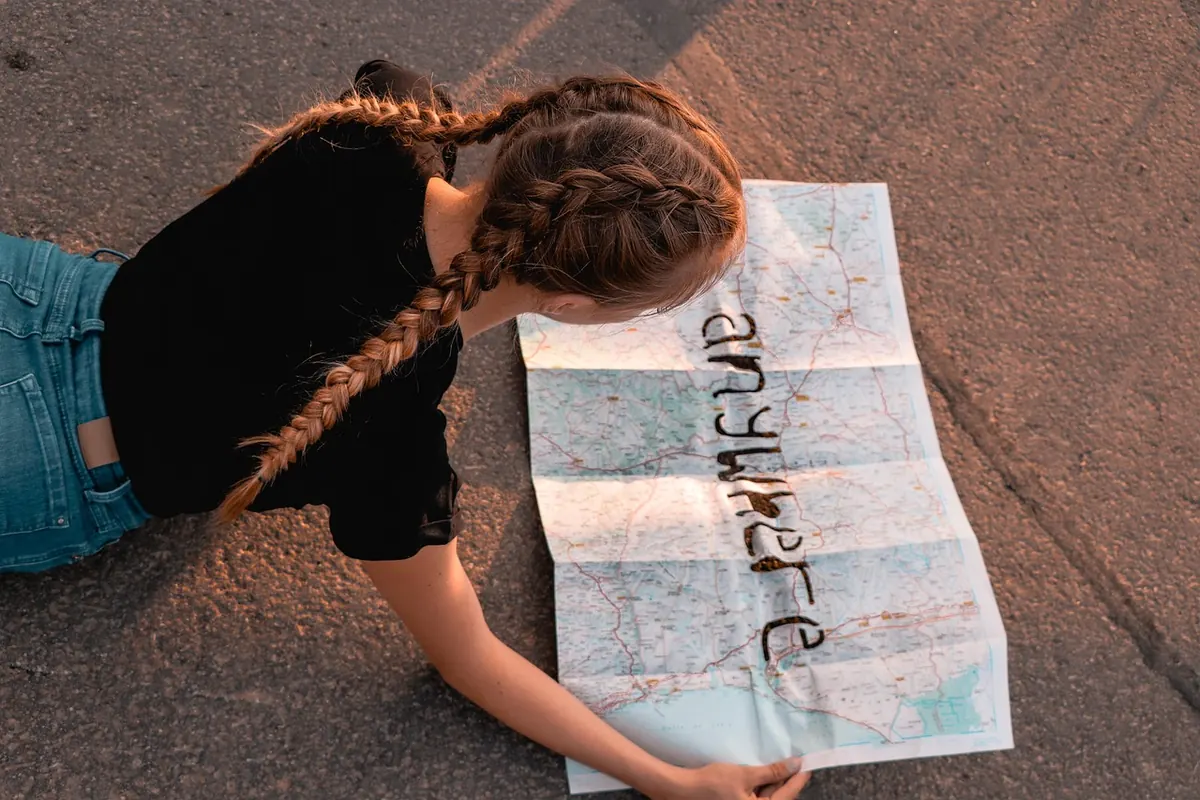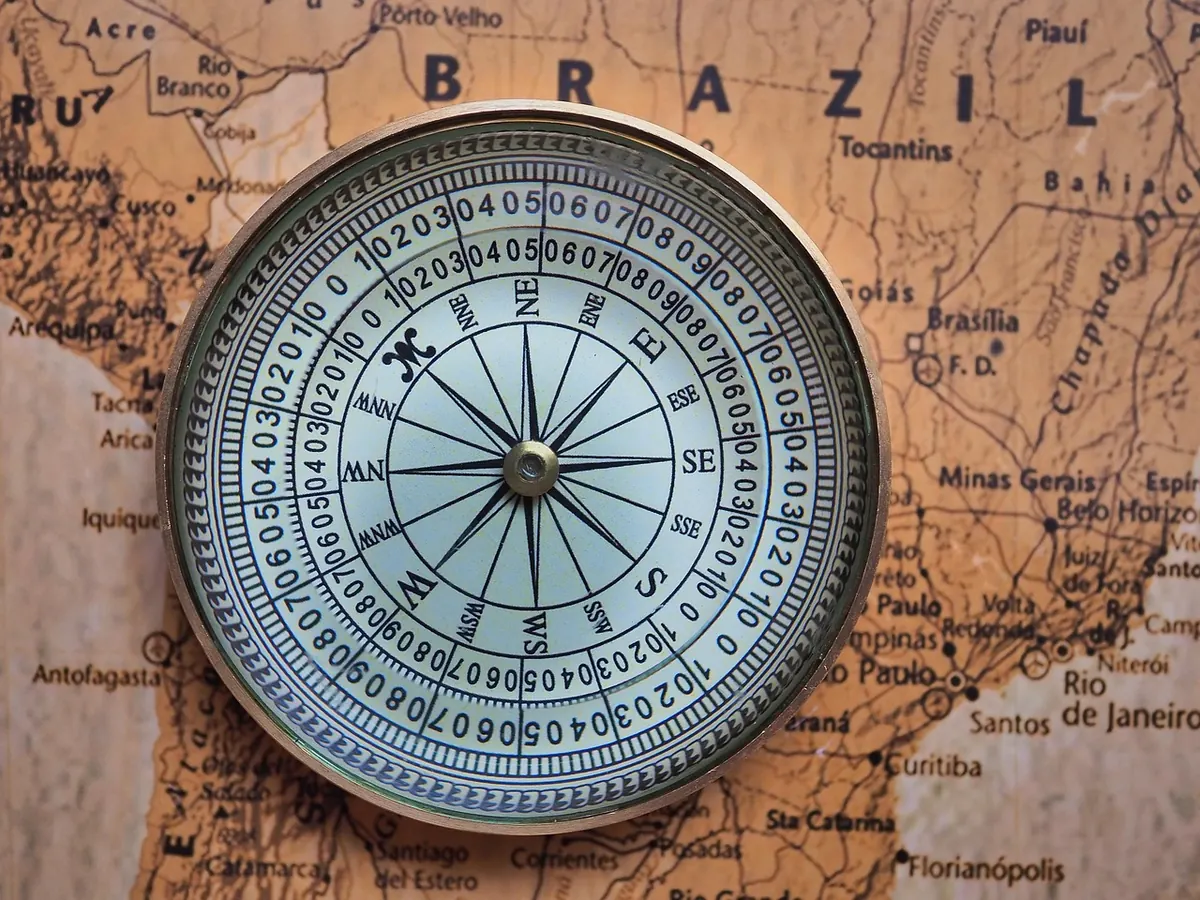
A topographic map shows the shape of the land: its hills, valleys, ridges and slopes, along with the paths, walls, streams and buildings that sit on it. For anyone walking in Britain, that combination is what makes a map genuinely useful. A road atlas can tell you where a village is; only a topographic map can tell you that the footpath to it climbs 200 metres and then drops steeply into a wooded gorge.
Most UK walkers cut their teeth on Ordnance Survey (OS) maps, and this guide sticks to those plus their close cousins from Harvey. The principles are the same whatever brand you carry: understand the scale, read the contours, decode the symbols, and pin down your position with a grid reference.
Start with the scale
Every map shrinks the real world by a fixed amount, and that ratio decides what the map can show. In Britain, two scales do most of the work.
- 1:50,000 — the OS Landranger series. One centimetre on paper equals 500 metres on the ground, so a kilometre is 2 cm. Good for planning a route and seeing how a whole day fits together, but small details like gates and small paths get squeezed out.
- 1:25,000 — the OS Explorer series. One centimetre equals 250 metres. Field boundaries, access land, and most stiles and gates appear. This is the scale most hill walkers carry.
- 1:40,000 — Harvey's British Mountain Maps, popular for upland areas, drawn with contours and rock detail emphasised.
Scale also sets your expectations for walking speed. On rough British hill ground, a commonly used planning figure is 3 to 4 kilometres per hour on the flat, plus about one minute for every 10 metres of ascent. A 12 km day with 600 metres of climbing is a far bigger undertaking than 12 km along a canal towpath.
Contour lines: the shape of the land
Contours are the heart of a topographic map. Each line joins points of equal height above sea level, and the vertical gap between lines is the contour interval — usually 10 metres on OS Explorer and Landranger maps, though some mountain sheets use 5 metres in complex terrain.
Closely spaced contours mean steep ground. Widely spaced contours mean gentle ground, and if the spacing is so wide that only a few lines cross a whole hillside, expect a long, gradual climb. The practical rule of thumb: count the lines as you cross them to work out your total ascent, and glance at the spacing to know how punishing the next kilometre will be.
Reading the classic shapes
Contours repeat a small set of patterns, and once you spot them you can picture the terrain without ever seeing it.
- A ring or oval with heights falling away on all sides is a summit or a knoll.
- A V pointing uphill marks a valley or stream — the sharper the V, the steeper the sides.
- A U or a bulge pointing downhill marks a spur or ridge. Spurs are the natural lines of ascent when a hillside is too steep to climb directly.
- Crowded lines on one side and open lines on the other mean an asymmetric slope: short and brutal one way, long and easy the other.
On a real map, the numbers printed along certain contour lines give the height, so a quick read across a hillside tells you whether you are looking at a 60-metre knoll or a 900-metre mountain. Note that the numbers are usually printed upright, so the top of the digits points uphill.
Map symbols: the language of the map
Symbols are the shorthand that turns a sheet of contours into a picture of the countryside. The legend on the map margin is the definitive reference, and it is worth ten minutes of your time before you set off — symbols vary slightly between series and editions.
A few categories matter most on foot. Rights of way appear as green dashes (footpaths), green crosses (bridleways) and green plus signs (byways). Access land in England and Wales is shaded a pale orange-cream on Explorer maps, which is genuinely useful when a path is impassable and you want to know whether you may legally detour across open country. Walls and fences show as black lines; streams as blue; crags and rock outcrops as brown hachures. Buildings, car parks, picnic sites, pubs and campsites all have their own marks, and so do hazards such as marsh, scree and disused mine shafts.
One caution: a right of way on the map is a legal line, not a guarantee of a visible path. Plenty of British footpaths cross fields with no trodden route at all, and stiles or gates may have been replaced. Compare the map against what is under your feet, and cross-check with the fingerposts and waymarks.
Grid references: telling someone exactly where you are
British topographic maps use the National Grid. Each sheet is divided into squares one kilometre wide, and every square has a unique reference built from its two edges.
The rule is eastings first, then northings — along the corridor, then up the stairs. A four-figure reference such as 6841 places you in a single kilometre square. A six-figure reference narrows it to 100 metres, which is enough to locate a stile or a summit in poor visibility. A typical six-figure reference looks like 684 415.
To take one, find the square, then estimate how far across it your position sits, in tenths, and do the same upwards. Practise on a hilltop near home: take a reference, walk 200 metres, take another, and check the two against each other. It becomes quick with repetition, and it is a core hillwalking skill rather than an optional extra.
Putting it together on the ground
Set the map so that its features line up with what you can see — that is, orient it to the ground rather than to north. Fold it so the current section is visible, and keep your thumb on your last known point. Every few minutes, look for three or four confirming features: a wall junction, a stream bend, a distinctive contour shape.
In Britain, a compass is a sensible companion even on lowland walks, because cloud, mist and featureless moorland can strip away your landmarks fast. Knowing your grid reference means you can give it to Mountain Rescue in an emergency — or simply to a friend waiting at the other end. If you are heading into serious hill country, consider a navigation course with a recognised provider; skills learned on a taught day outlast any app.
A short practice plan
Before you test yourself on a mountain, try this on familiar ground. Take an Explorer map of your local area and, without leaving the kitchen, trace a 5 km route. Note where the contours bunch, where spurs offer easier climbing, and which symbols suggest a gate or a stream crossing. Then walk it with the map in hand, checking each prediction against reality.
Do that a few times and the sheet stops looking like a pattern of orange squiggles. It becomes the landscape itself — read in advance, confirmed on foot, and quietly keeping you on the right side of the hill.
Photo: beasternchen / Pixabay